Screwless & Clueless
The brief was short and tempting: build a hiking cabin next to the Drina river. Given that it had to be built in less than fortnight, site unseen, while teaching a dozen students and given the material as well as tool shortages of previous MEDS workshops it was also quite a daunting brief.
At the previous Meeting of Design Studends (MEDS) I had the pleasure of meeting Ailbhe Cunningham. Without intending to, we somehow managed to convince each other that this cabin was something we had to do. At the time Ailbhe lived in Ireland and I was in North Carolina. We wouldn’t be in the same country until landing in Serbia. I was also going to be in camp for the last three weeks before the workshop with no power and 2G reception at best.
Goals
Given our previous experiences at MEDS we had two priorities: a) give architecture and design students an opportunity to learn construction hands on and b) only build something that would survive after the workshop and be of actual use to our hosting community. This quickly narrowed down our design to a very basic shelter structure which would ensure completion while leaving us enough time to still be a teaching workshop.
It seems that workshops like MEDS always have make a choice between letting participants design something themselves and making sure that something actually gets built. Since we opted for the latter, it meant that we would complete the entire design ahead of time and make this clear when presenting the workshop.
There was the usual collecting of random images off the internet (thank you cabin porn). After finding The fifty dollar and up underground home we briefly considered asking for lots of shovels. But in the end we decided that old school timber framing sounded like a lot of fun and a valuable learning experience (us included).
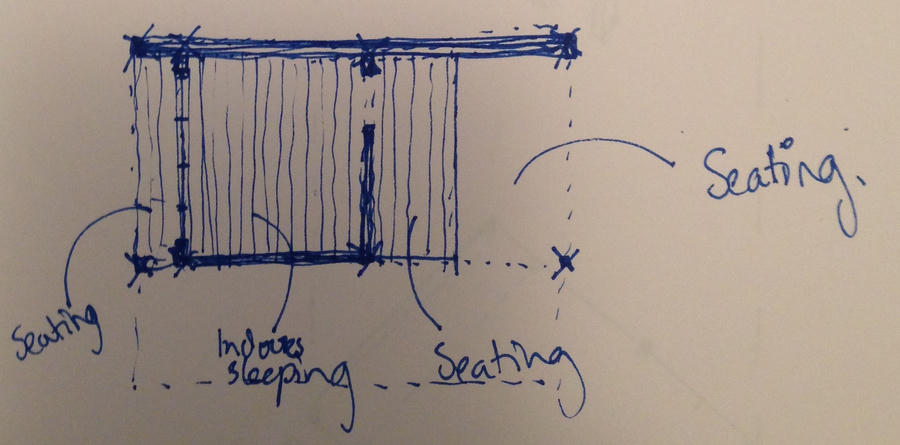
Design
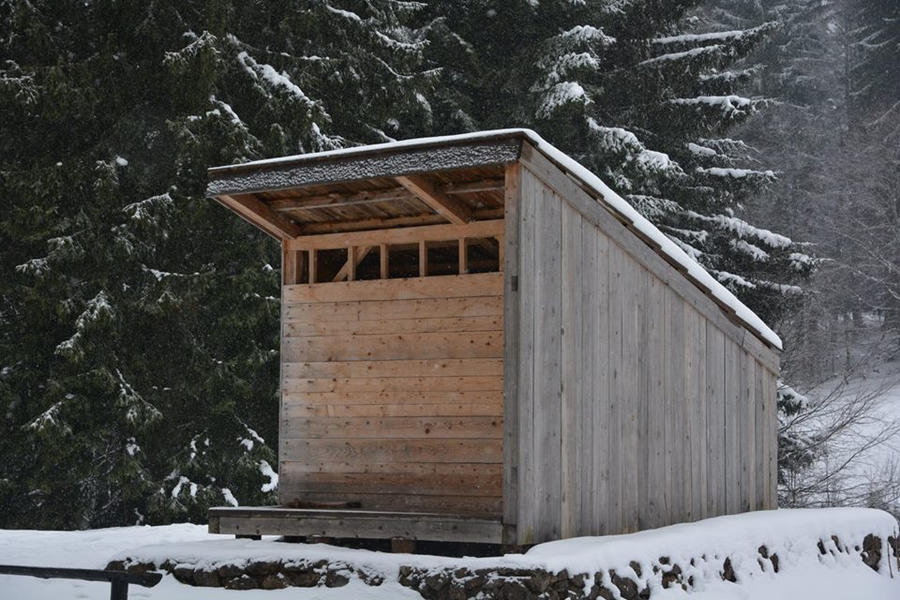
The design was motivated by our experiences of enjoying nature. Sometimes it feels odd to go out in to nature only to hide away in tents and cabins come night. So we wanted to make sure that the cabin offered not only indoor shelter, but also more minimal shelter for enjoying fresh air sleeping. So beside the single room there are two areas outside, raised from the ground and covered by the roof to varying degrees.
The arrangement of the spaces, roof, entrance and window are arranged to match an arrival in the evening and leaving in the morning. The entrance and lower part of the roof face towards the setting sun. The window and second platform face the rising sun, creating an alarm clock and breakfast room ^^
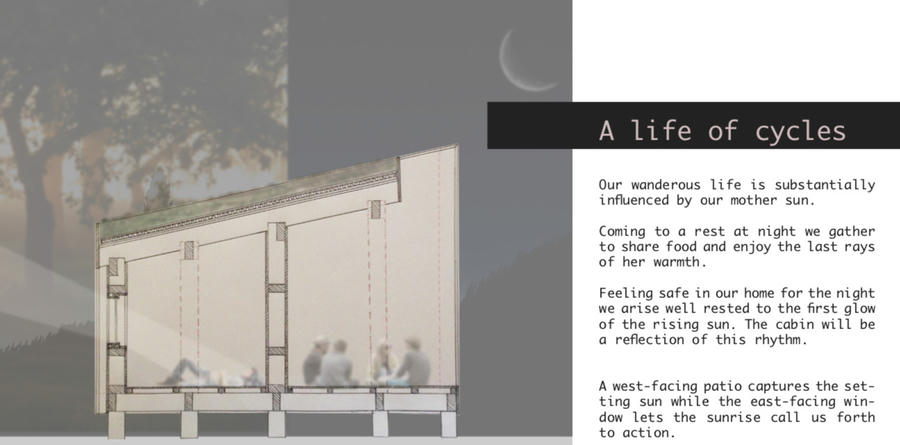
Aside from the functional considerations our main driver was simplicity. So we went with a single pitch roof, a single window, rectangular footprint and finally: no door. Instead of a door the roof extends over the porch of the entrance. By staggering the walls and placing the entrance at the low side of the roof the interior is sheltered, even without a door.
Having people stoop down to enter the cabin also ended up impacting the experience of the space. For one it immediately feels spacious upon entering, coming from a stoop and then having ones eye drawn to the high window while. It also made the space feel quite safe, as anybody entering comes in with their head bowed down.
With these key decisions we submitted the proposal/application for the cabin. Ailbhe then went back to completing her thesis work and I tried to figure out the details of construction.
Construction
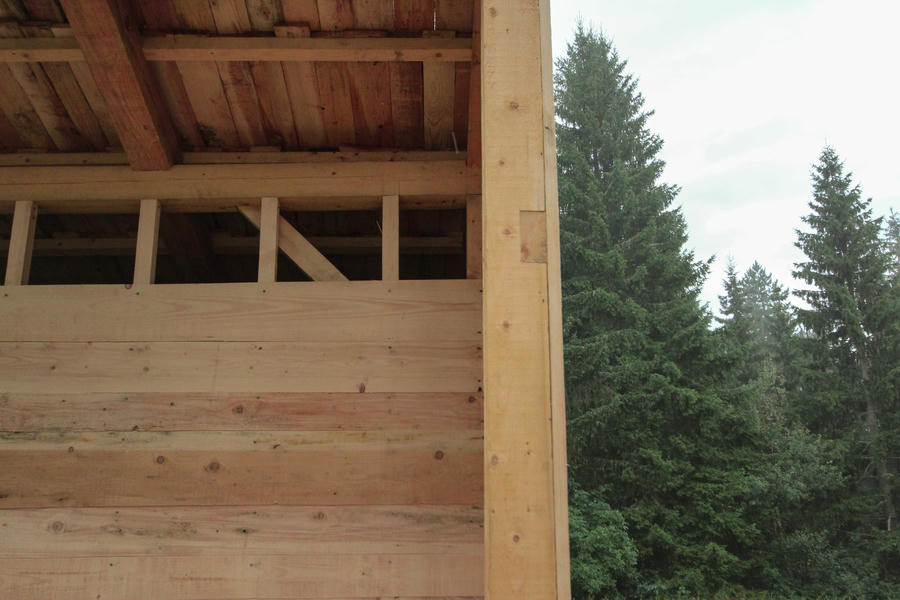
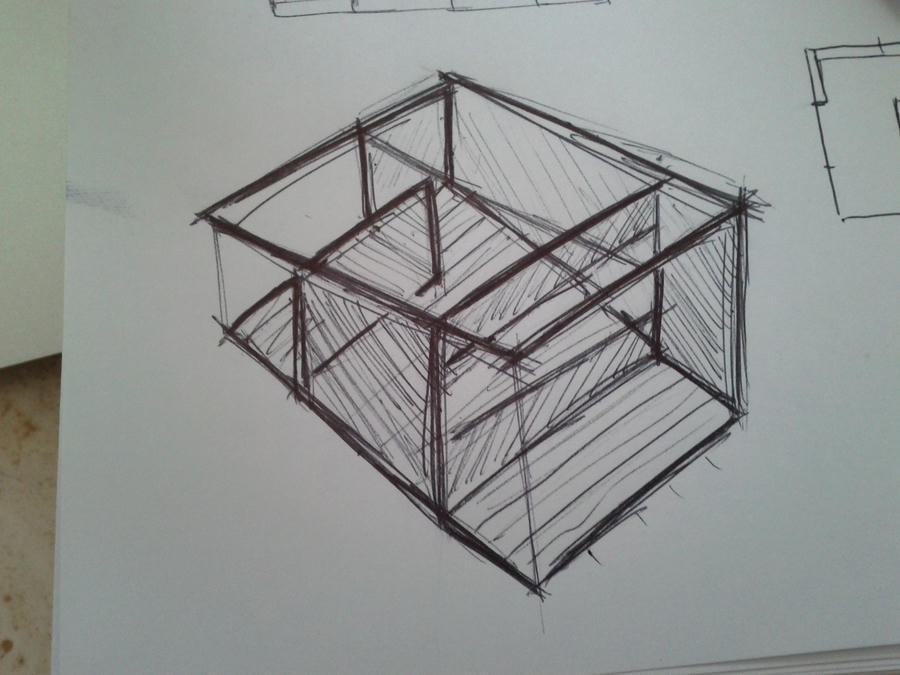
We must have decided to go with a post and beam construction after Ailbhe made the drawings for the proposal but before we submitted it, since we called for 15x15 lumber in our proposed materials. While I had learnt basic cabinet joinery in high-school most of the know-how for our construction came from youtube. Another highly valuable resource were the publications of the Timber Framers Guild. They not only show the various types of joints for each task, but also discuss their benefits and why people historically chose them.
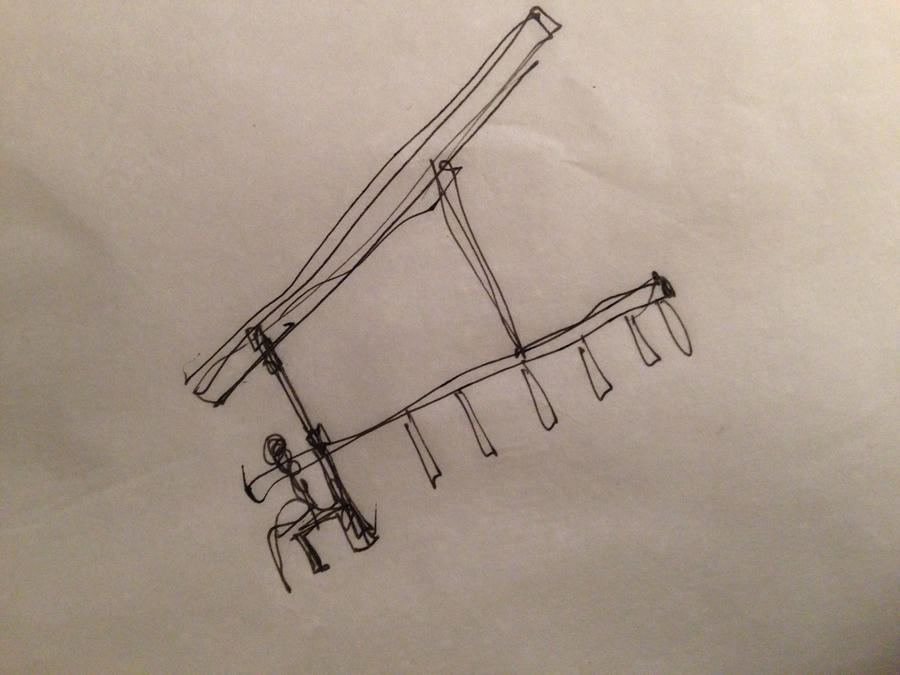
This research accompanied an iterative process going through the construction process by sketching out the individual stages. Each time we would come across further questions that needed answers and problems that needed answers. How should we roof it? How can we clad it? How do we fit a window? Oh bugger, that post is standing on thin air…
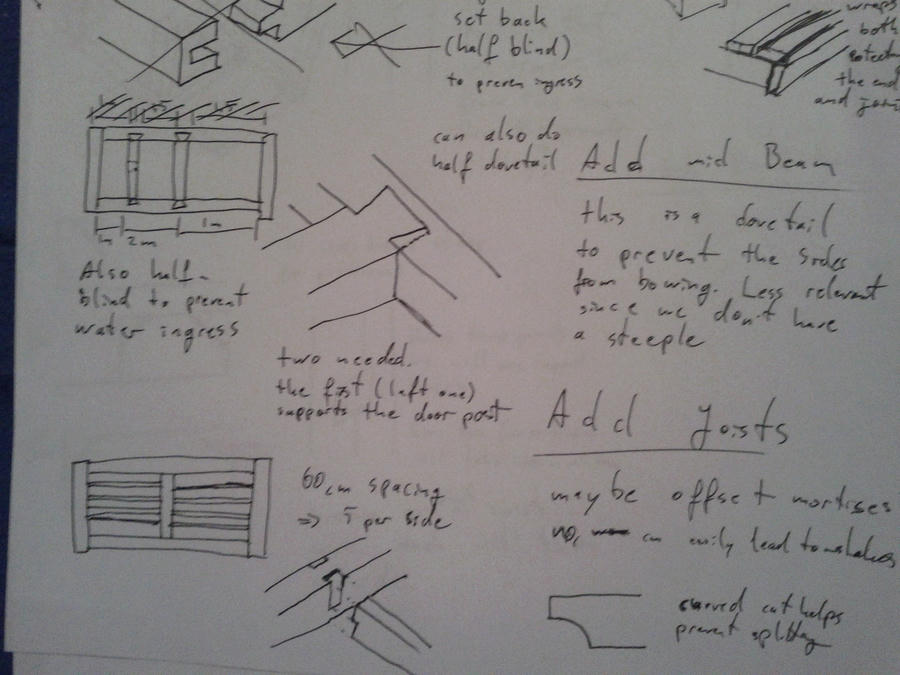
Apart from the vast amount of ways one might join timbers, this process taught me two lessons: names are really useful (wall thingy = bent) and now I get architects and civil engineers obsession with the so called details. Value of a little image that explains in detail how these big pieces have to be fitted is incredible. I believe this constant switching in the required level of detail is what makes the digitalization of construction planning so much more challenging than digital planning in mechanical engineering.
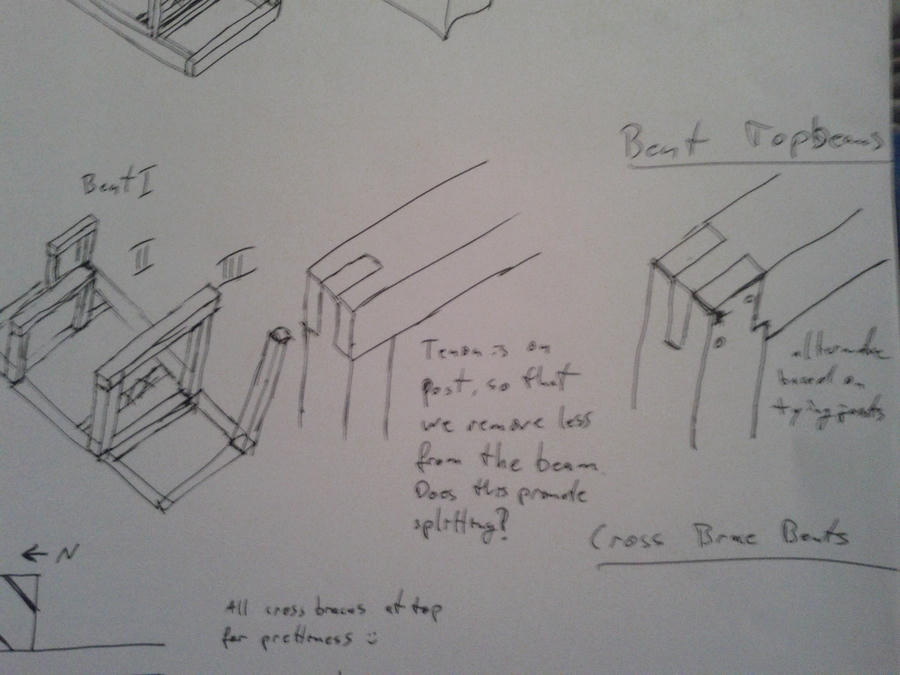
A week before leaving for Serbia I sat down and drew all the construction steps on two pages of A4. These became our on site plans and constant companion over the two week of construction. I wish I knew where I put them…
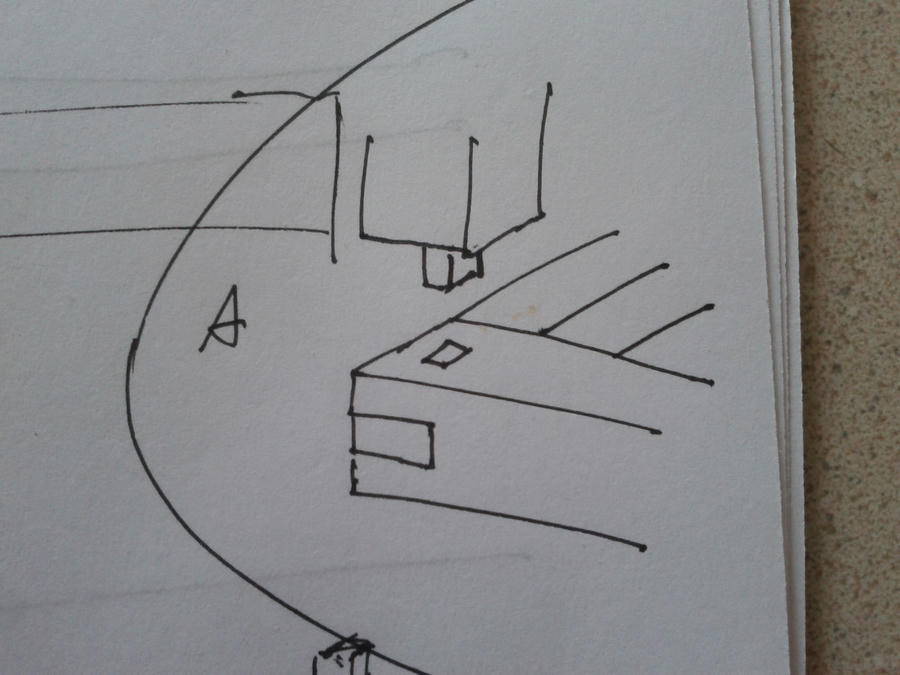
The Workshop
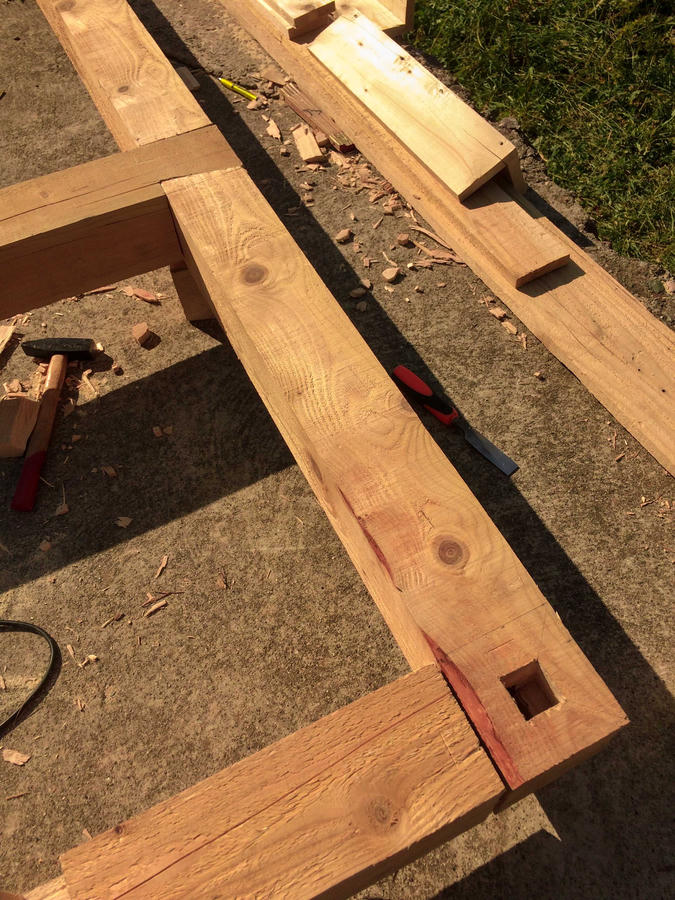
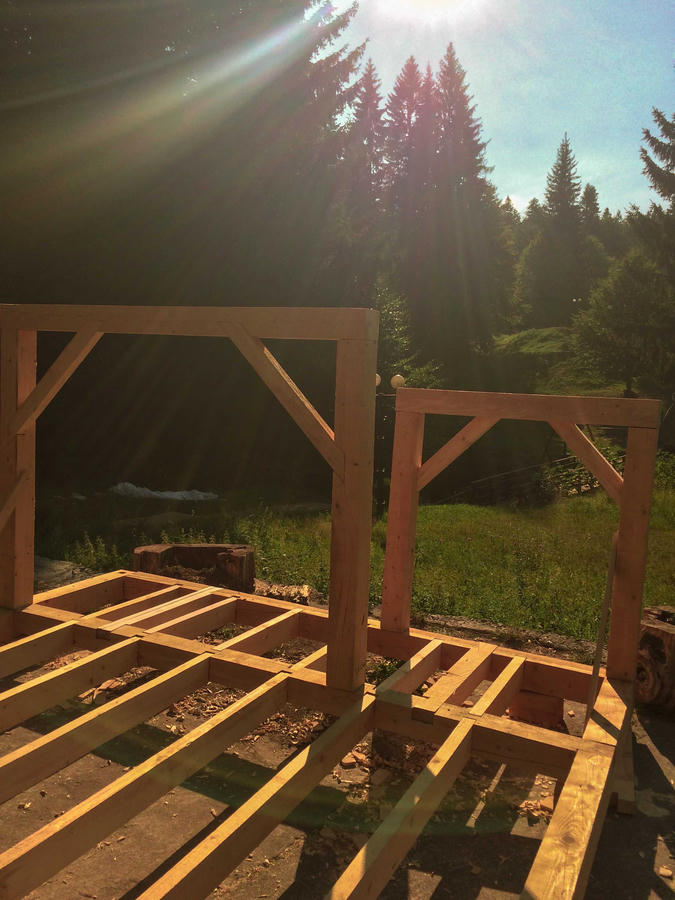
No plan survives its first contact with the enemy. I our case we were faced with a severe lack of tools. While the sponsorship by Bosch equipped MEDS with an amazing amount of power tools, when it came to hand tools we were mostly limited to the personal tools that Ailbhe and some other tutors had brought. As such we ended up simplifying several joints (e.g. regular dovetails instead of half-blind dovetails) so that we could cut them with a circular saw.
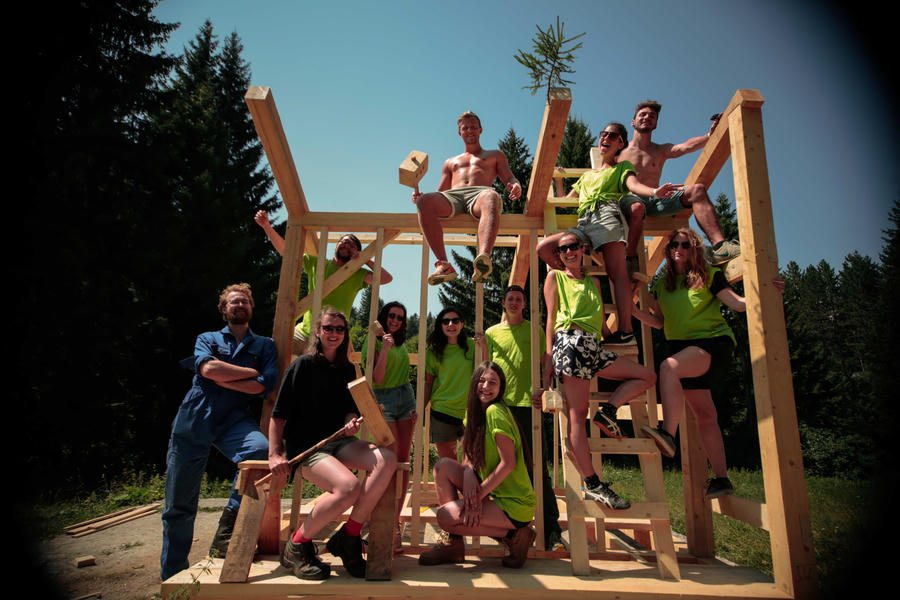
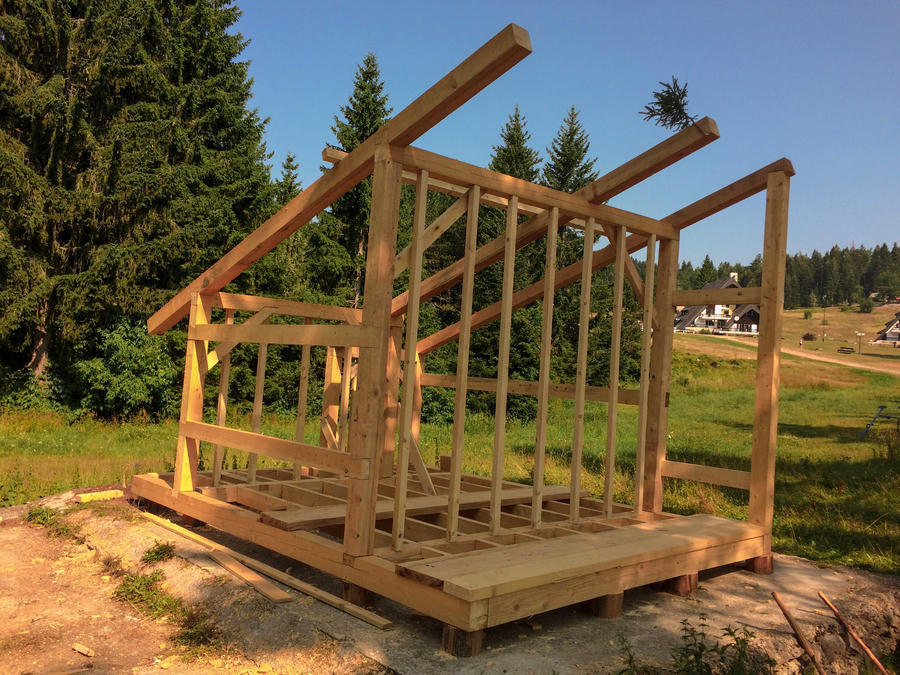
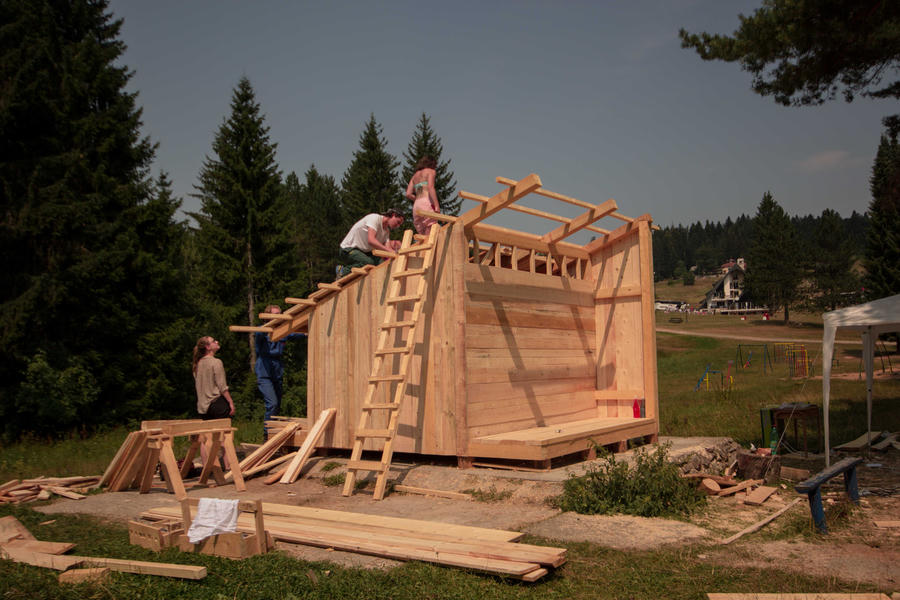
Result
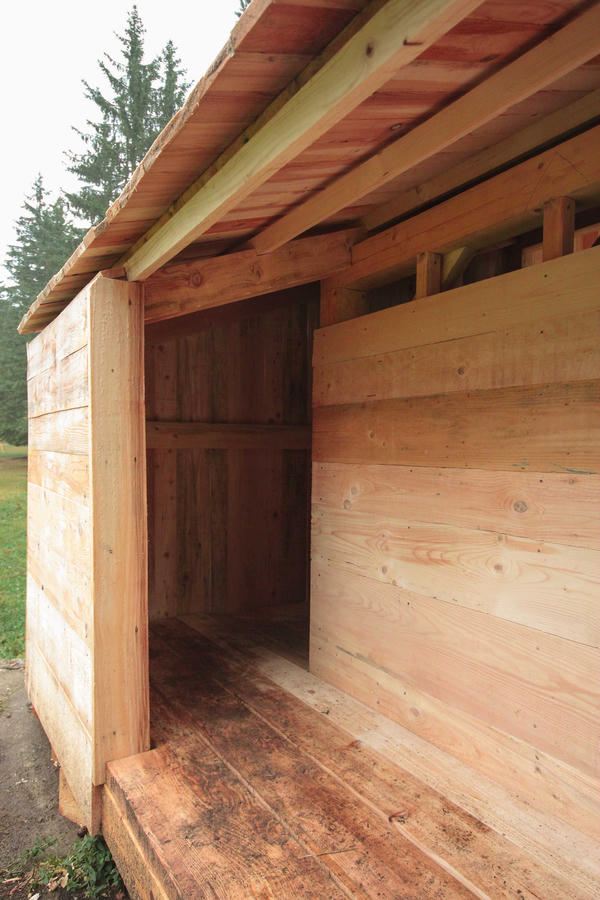
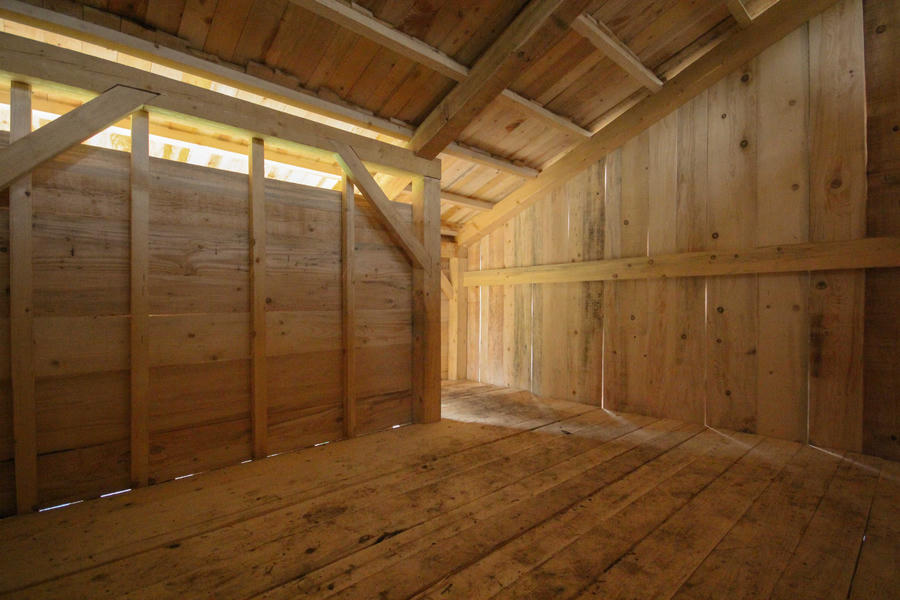
It was an amazing experience overall and it took us a week of decompressing in Macedonia to slowly start coming to grips with it. Once completed the cabin got a proper rainstorm christening that it weathered with a bone dry interior. We were all very happy with the way it turned out, even if we didn’t get to build it in the planned for location.
The original plan was to place the shelter along a hiking trail in the national park. Given the lack of quality timber, cladding and roofing in particular, the decision was made to place the shelter in the Mitrovac park. Here it would be possible for the rangers to treat the wood, once sufficiently dried, with a lot less hassle than out in the park proper. A decent compromise given the frequency with which hikers and cyclists camp in the park.
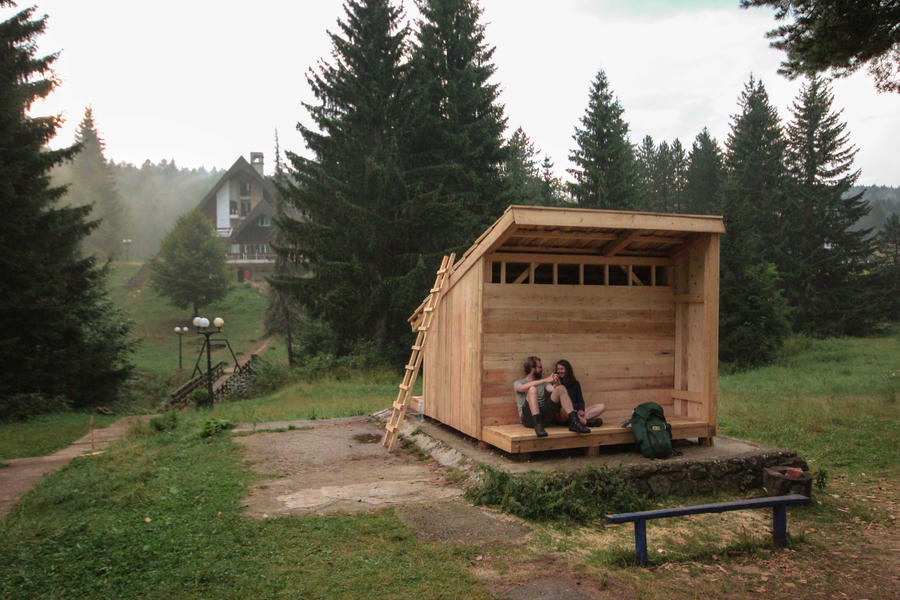
I’ll always cherish the feeling of stepping into a space previously only existed in my head.
