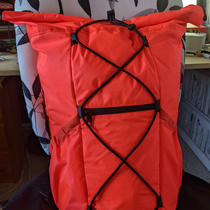
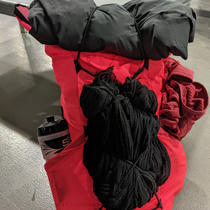
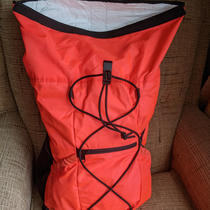
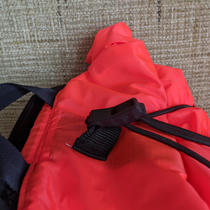
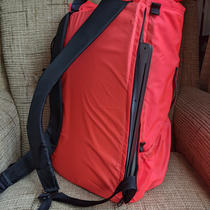
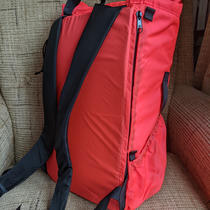
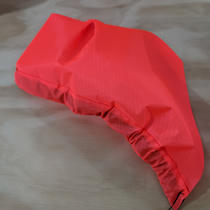
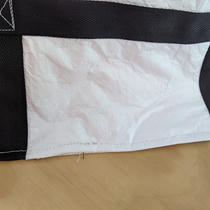
Small hand luggage
Features
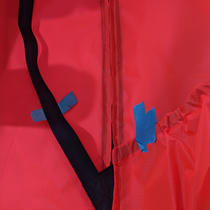
- side zip accessible laptop sleeve
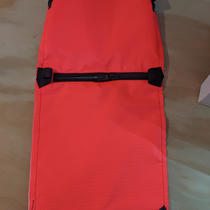
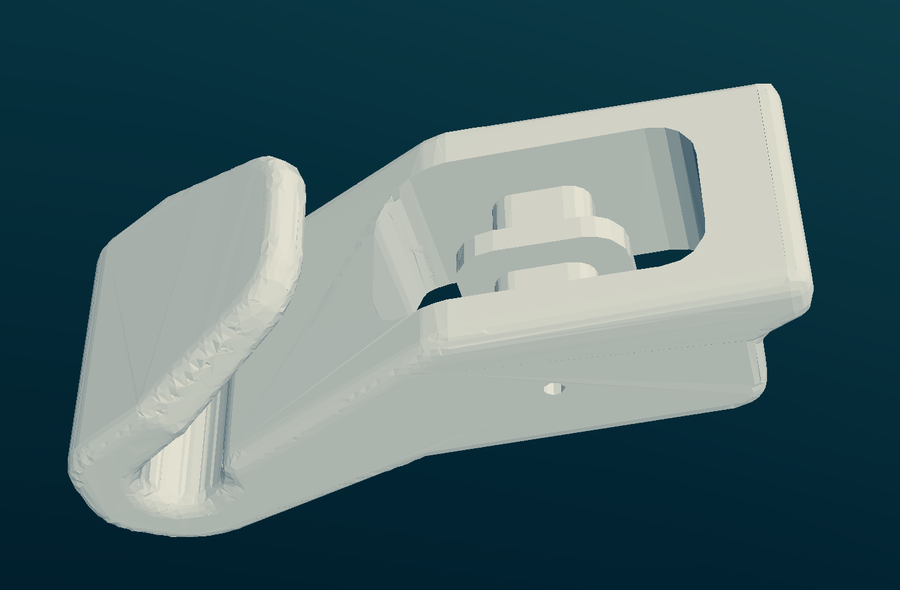
- 3D-printed roll top hook
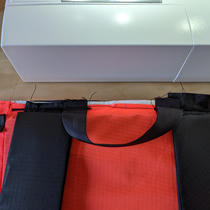
- carrying handle on the side
- stuff pockets and lots of elastic
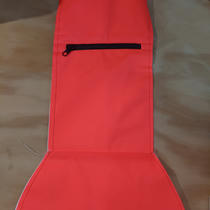
- zippered front access pocket
- small Ryanair luggage compliant
- public domain licensed
Plans
- A4 tiled PDF
- A4 tiled SVG (Inkscape)
- raw DXF plans
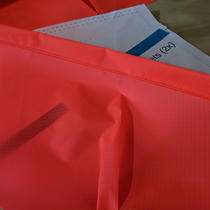
- fabric layout
- Rhino 3D source model
- Rhino Grasshopper code used to create model
Dual channel 4mm linelock
Learning and what I’d do different
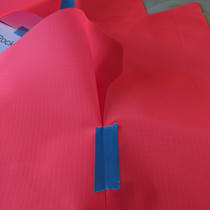
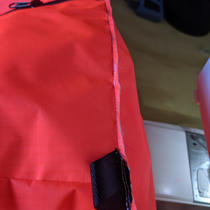
- french seams are a great way to join bag pieces that avoids having to bind edges with tape
- single vertical pleat means stuff pockets taper too much at the bottom limiting their capacity
- taller stuff pockets = better stuff pockets
- taller rolltop part = better rolltop
- remember to insert all webbing loops to panels before joining panels
- Ryanair small size is tiny (but enough for a weekend)
Construction
Basic order of operations:
- make pockets
- attach pockets, webbing (I forgot those) and straps to sides
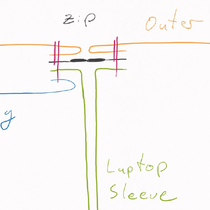
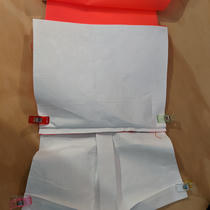
- laptop sleeve
- tack back outer to side at top and bottom
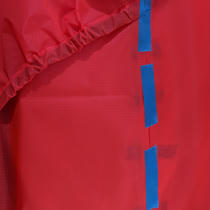
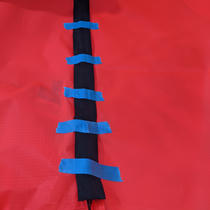
- insert side zip between tacks
- attach back of sleeve to back of pack at zip seam
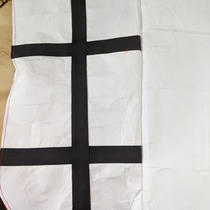
- reinforce side panel lining with webbing
- attach side lining and front of sleeve to other zip side
- join side lining with side outer on remaining edges
- attach handle to side pocket
- attach webbing in between laptop sleeve parts (I forgot and it now is visible inside the pack)
- complete laptop sleeve by stitching sleeve parts to back along bottom and side
- attach other side panel to back
- front and bottom
- sandwich both ends of pocket zip with outer and liner
- attach outer and its lining to either side of the zip (could have sandwiched here to have it neater)
- top stitch around zip
- insert channel at top of inner pocket piece
- attach pocket piece to front at bottom and sides
- stitch through pocket piece and top of zip to create upper inner pocket
- sandwich front panel with outer and lining of bottom
- join panels
- left sides i.e. inners together stitch with a small seam allowance all around
- turn back inside out and stitch at approx 1/4“ to finish french seam
- finish back
- insert back foam
- stitch at top of back to close foam compartment
- attach shoulder straps and handle, tacking through all back layers including webbing
- roll top
- attach webbing to roll top back lining to to have a place for closure loop
- create outer and lining loops by joining roll top backs to their front/side pieces
- sandwich top of rest of back between outer and lining of roll top
- fold up rolltop and topstitch
- attach rolltop closure loop
- attach webbing or plastic strip to front of roll top to ease rolling
- enclose edges with tape
